Walk through an industrial FDM shop and you will find two families of machine. One takes molten thermoplastic from a hopper of pellets. The other pulls strand from a spool, the pellet 3d printing rival most workshops already know. Build volume makes people think the two are the same job at two sizes. They are not. Pick between them on material and duty cycle, and the size question takes care of itself. What follows: how a pellet head actually works, where it beats filament, where filament is the cheaper and faster buy, and what to check on a machine before it is signed.
How Pellet-Fed FDM Actually Works
Granules fall from the hopper, get melted, and are pushed through a heated head that lays the layers. The feed arrives dense and uniform, so melt flow holds steady across a long print, layer thickness stays put, and the head does not starve or jam the way a spool-fed run eventually can. That steadiness is the whole reason these machines are built for production runs that run unattended, not for a quick one-off on the bench.
Filament FDM runs off a 1.75 or 2.85 mm spool. It is cheaper to buy, swaps materials in minutes, and owns the benchtop and lab segment. The limits arrive with part size: spool changes break up long prints, the thin strand caps extrusion throughput, and the material range, wide as it is, is organized around what prints well, not around industrial process requirements.
Where Pellet and Filament FDM Actually Differ
In practice five points separate the two technologies:
Feed and reliability. A pellet is denser and more uniform than a strand. A build running for days needs no spool swap, no jam, no diameter drift. For work that is going to run for days anyway, that is not a nice feature; it is the point.
Print size. Pellet systems are built around meter-scale worktables. Filament machines fall well short of that in practice, and the usable area shrinks once fixturing is on the table.
Material palette. Pellet FDM is aimed at the commodity industrial resins: PP, PE, PS, nylon, PVC, ABS, PA, PPS, acrylic, and glass-fiber-reinforced composite pellets. Filament carries its own broad list, but the two overlap less than you would guess, and several high-temperature industrial resins exist only in pellet form.
Duty cycle and cost per part. Pellets cost less per kilogram, and the continuous feed keeps the machine productive for longer windows. In a production run the per-part gap compounds, because the machine keeps running while the per-kilogram input stays flat.
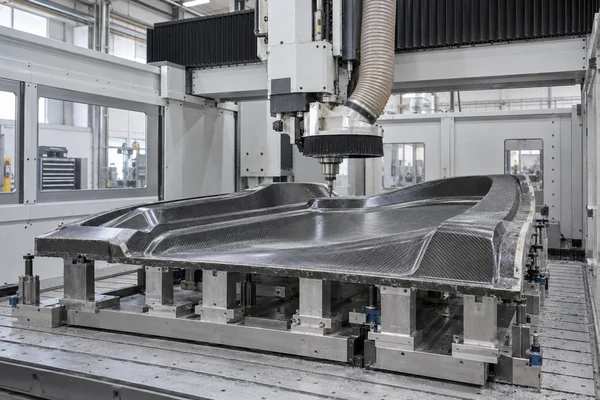
Downstream workflow. A pellet part is usually a near-net-shape blank waiting for a machining step: the 3D printer makes the blank, the milling center trues it to tolerance. That print-and-mill pairing is the workflow most mold shops actually run.
What Pellet 3D Printing Is Good At
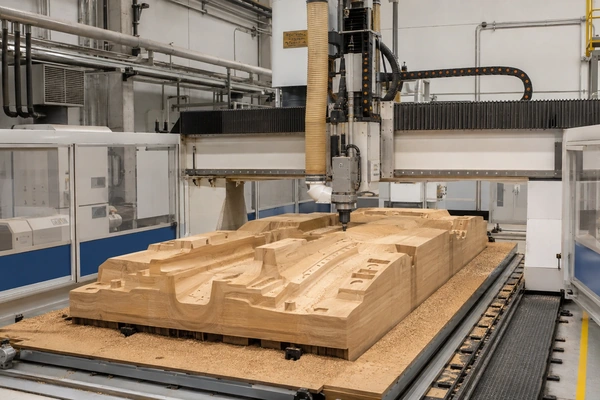
- Casting and thermoforming molds. Large near-net-shape blanks that replace or supplement carved wooden patterns, for foundry and blister-type tooling.
- Fixtures and jigs with internal features. Internal cooling and flow channels that would be expensive to machine into a solid block.
- Large structural and decorative parts. Marine, landscape, and architectural pieces that outgrow any practical filament machine.
- Rapid tooling loops. A blank printed overnight and milled in the morning keeps the iteration inside one shift. When to pick a large-format 3D printer over CNCdraws that decision line.
Materials get their own depth in How to Choose the Right Material for Industrial Large-Format 3D Printing, and the process parameters that decide whether a printed mold survives service are in How Bead Size and Cooling Time Affect Large-Format Pellet 3D-Printed Molds.
How to Choose Between Pellet and Filament
Four questions usually answer themselves. Does the part sit outside the practical envelope of a filament machine? Is the target material one of the commodity resins that ship in pellet form, like PP, PE, PA, or a reinforced composite? Does the job need a long unattended run with no spool changes? Will the printed part go to a milling center for finishing? Three yeses or more point at pellet. Two or fewer, and a good filament machine is the cheaper, faster path.
On the pellet side, a few practical notes. Large parts take from tens of hours to weeks, so budget the machine as a production asset and put print time into the lead-time model. Dry feed matters more than most buyers expect: how material drying affects strength and surface quality in pellet 3D printing is one of the most under-appreciated variables in printed mold quality. And design with a milling allowance from day one, because the print-and-mill pairing is what makes the tolerance story work.
Conclusion
Pellet 3d printing is the industrial answer when the part is big, the material is a commodity resin, and the job is a production loop rather than a one-off. Filament FDM stays the right tool for small parts, quick material swaps, and low initial budgets. CHENcan builds both the large industrial 3D printers and the 5-axis machining centers that finish what they print, so the whole loop comes from one source. If a mold or fixture has outgrown your current machine, send the drawing and get a print-and-mill evaluation.
Frequently Asked Questions
Q1: Can pellet 3D printing handle metal parts?
No. The industrial pellet FDM platform covers thermoplastics: PP, PE, PS, nylon, PVC, ABS, PA, PPS, acrylic, and reinforced composite pellets. Metal belongs to an entirely different machine class.
Q2: How is pellet FDM different from SLA resin printing?
SLA cures liquid resin and chases small parts with fine detail. Pellet FDM builds large structural parts from thermoplastic pellets and takes industrial duty cycles. Different problems, and the material and precision envelopes barely overlap.
Q3: How long does a large printed part take?
From tens of hours to several weeks, depending on size, layer height, and infill. For the speed trade-offs between FDM and the other processes, see Why 3D Printer Speed Varies Between FDM and SLA.
Q4: What tolerance can I expect from a printed part?
A pellet print is a near-net-shape blank, not a finished part. The standard workflow is print-and-mill, with the milled surface carrying the tolerance. Leave a finishing allowance in the design and the final dimensions come from the milling step.